
Pingvin Stack mit Pocket-ID und Traefik einrichten #
Introduction #
This guide explains step by step how to set up a Pingvin stack with Pocket-ID and Traefik. The aim is to provide a secure and easy-to-maintain file sharing environment that is secured by an identity provider (IdP) and managed by Traefik as a reverse proxy.
This documentation is aimed at both beginners and experienced users who prefer detailed instructions and code examples. All configuration files are provided.
Prerequisites #
Before you start, make sure that the following requirements are met:
- Operating system: Linux (e.g. Ubuntu 20.04 or newer) or another compatible system.
- User rights: Access to a shell with root rights or sudo authorizations.
- Installed tools:
- Docker (at least version 20.10)
- Docker Compose (at least version 2.0)
- A text editor (e.g.
nano,vimor any editor of your choice).
- Domain: A registered domain that is used for Traefik (e.g.
example.com). - TLS certificates: Automated via Let’s Encrypt or provided manually.
Step 1: Preparations #
1.1 Updating the system #
First carry out a system update to ensure that all packages are up to date:
sudo apt update && sudo apt upgrade -y
1.2 Install Docker and Docker Compose #
- Execute the following command to install Docker:
# Add Docker's official GPG key:
sudo apt-get update
sudo apt-get install ca-certificates curl
sudo install -m 0755 -d /etc/apt/keyrings
sudo curl -fsSL https://download.docker.com/linux/ubuntu/gpg -o /etc/apt/keyrings/docker.asc
sudo chmod a+r /etc/apt/keyrings/docker.asc

# Add the repository to Apt sources:
echo \
  "deb [arch=$(dpkg --print-architecture) signed-by=/etc/apt/keyrings/docker.asc] https://download.docker.com/linux/ubuntu \
  $(. /etc/os-release && echo "$VERSION_CODENAME") stable" | \
  sudo tee /etc/apt/sources.list.d/docker.list > /dev/null
sudo apt-get update

sudo apt-get install docker-ce docker-ce-cli containerd.io docker-buildx-plugin docker-compose-plugin
- Verify the installation:
docker --version
1.3 Configure network #
Create a dedicated network for Docker if one does not yet exist:
docker network create webproxy
This creates a separate network that can be shared by Traefik and the containers.
1.4 Preparing the folder structure #
You need a certain folder structure for the deployment. You can take this from the following example. Create the folders and files. We will fill these in the next steps
├── traefik
│   ├── data
│   │   ├── dynamic
│   │   │   └── middlewares.yml
│   │   ├── acme.json
│   │   └── traefik.yml
│   ├── error-pages
│   │   └── app-down.html
│   └── docker-compose.yml
├── pingvin-stack
│   ├── .env
│   └── docker-compose.yml
├── portainer
│   └── docker-compose.yml
Step 2: Set up Traefik #
2.1 Creating the Traefik configuration file #
Create a new file called traefik.yml in the working directory:
# /root/traefik/data/traefik.yml

api:
  dashboard: true                     # Activates the dashboard
  debug: true
entryPoints:
  http:
    address: ":80"                    # Port 80 for HTTP Traffic
  https:
    address: ":443"                   # Port 443 for HTTPS Traffic
serversTransport:
  insecureSkipVerify: true            # Self-signed certificates of containers are ignored
providers:
  docker:
    endpoint: "unix:///var/run/docker.sock"
    exposedByDefault: false           # Disable automatic exposure of containers
  file:
    directory: /dynamic               # Discovery of manual routes in the Dynamic folder
    watch: true                       # Files are automatically monitored and updated
certificatesResolvers:                # Let's Encrypt certificates via Cloudflare
  cloudflare:
    acme:
      email: admin@h-servers.de
      storage: acme.json
      dnsChallenge:
        provider: cloudflare
        resolvers:
          - "1.1.1.1:53"
          - "1.0.0.1:53"
2.2 Create the docker-compose configuration #
Create a docker-compose.yml for Traefik:
# /root/traefik/docker-compose.yml

services:
  traefik:
    image: "traefik:v3.2"
    container_name: traefik
    command:
      # Enable Hub communication (open the port 9900 and 9901 by default)
      - --experimental.hub=true
      - --hub.tls.insecure=true
    restart: unless-stopped
    security_opt:
      - no-new-privileges:true
    networks:
      - webproxy
    ports:
      - 80:80
      - 443:443

    depends_on:
      - error-pages

    environment:
      - CF_API_EMAIL=admin@example.com # Change email
      - CF_DNS_API_TOKEN=xyzxyzxyzxyzxyzxyzxyzxyzxyzxyz # Change API Token
      - TZ=Europe/Berlin
    volumes:
      - /etc/localtime:/etc/localtime:ro
      - /etc/timezone:/etc/timezone:ro
      - /var/run/docker.sock:/var/run/docker.sock:ro
      - /root/traefik/data/traefik.yml:/traefik.yml:ro
      - /root/traefik/data/acme.json:/acme.json
      - /root/traefik/data/dynamic:/dynamic:ro
    labels:
      # Enabeling Traefik
      - "traefik.enable=true"

      # Traefik Default HTTP Endpoint with HTTPS Redirection
      - "traefik.http.routers.traefik.entrypoints=http"
      - "traefik.http.routers.traefik.rule=Host(`traefik.example.com`)" # Insert domain here
      - "traefik.http.middlewares.traefik-https-redirect.redirectscheme.scheme=https"
      - "traefik.http.middlewares.sslheader.headers.customrequestheaders.X-Forwarded-Proto=https"
      - "traefik.http.routers.traefik.middlewares=traefik-https-redirect"

      # Traefik Error Pages
      - "traefik.http.routers.traefik.middlewares=error-pages-middleware"

      # Traefik HTTPS Endpoint with Wildcard Cert, issued from Cloudflare
      - "traefik.http.routers.traefik-secure.entrypoints=https"
      - "traefik.http.routers.traefik-secure.rule=Host(`traefik.example.com`)" # Insert domain here
      - "traefik.http.routers.traefik-secure.tls=true"
      - "traefik.http.routers.traefik-secure.tls.certresolver=cloudflare"
      - "traefik.http.routers.traefik-secure.tls.domains[0].main=example.com" # Insert domain here
      - "traefik.http.routers.traefik-secure.tls.domains[0].sans=*.example.com" # Insert domain here

      # Exposure of the API interface
      - "traefik.http.routers.traefik-secure.service=api@internal"

      # Catchall HTTP and redirect to HTTPS
      - "traefik.http.routers.http-catchall.rule=hostregexp(`{host:[a-z-.]+}`)"
      - "traefik.http.routers.http-catchall.entrypoints=http"
      - "traefik.http.routers.http-catchall.middlewares=redirect-to-https"
      - "traefik.http.middlewares.redirect-to-https.redirectscheme.scheme=https"

  error-pages:
    image: tarampampam/error-pages:3.2.0
    restart: unless-stopped
    command: serve --add-template /opt/app-down.html
    # environment:
      # - TEMPLATE_NAME=app-down #connection #app-down # set the error pages template
    volumes:
      - /root/traefik/error-pages/app-down.html:/opt/app-down.html:ro

    networks:
      - webproxy
    labels:
      traefik.enable: true
      # use as "fallback" for any NON-registered services (with priority below normal)
      traefik.http.routers.error-pages-router.rule: HostRegexp(`{host:.+}`)
      traefik.http.routers.error-pages-router.priority: 1
      # should say that all of your services work on https
      traefik.http.routers.error-pages-router.tls: 'true'
      traefik.http.routers.error-pages-router.entrypoints: https
      traefik.http.routers.error-pages-router.middlewares: error-pages-middleware
      traefik.http.services.error-pages-service.loadbalancer.server.port: 8080
      # "errors" middleware settings
      traefik.http.middlewares.error-pages-middleware.errors.status: 400-599
      traefik.http.middlewares.error-pages-middleware.errors.service: error-pages-service
      traefik.http.middlewares.error-pages-middleware.errors.query: /{status}.html

networks:
  webproxy:
    external: true
In the file above, another container called error-pages is set up in addition to Traefik. This provides error pages matching the HTTP code if a page cannot be reached.
2.4 Starting Traefik #
Start the Traefik container:
docker compose up -d
Check whether Traefik is running and accessible by calling up the domain or checking the logs:
docker logs traefik
Step 3: Set up Pingvin Pocket ID #
3.1 Creating the Pocket ID environment variable #
Create a file named .env and add the following content:
# /root/pingvin-stack/.env

# See the README for more information: https://github.com/stonith404/pocket-id?tab=readme-ov-file#environment-variables
PUBLIC_APP_URL=https://login.example.com
TRUST_PROXY=true
# MAXMIND_LICENSE_KEY: please read the documentation here.
# This key is used later for the location resolution in the audit log.
MAXMIND_LICENSE_KEY=xyzxyzxyzxyzxyzxyzxyzxyz
# For the UserID, the corresponding user with the ID must be used; this should not be root.
PUID=1000
PGID=1000
3.2 Creating the Docker-Compose configuration for the Pingvin stack #
Create a file docker-compose.yml with the following content:
# /root/pingvin-stack/docker-compose.yml

services:
  pingvin-share:
    container_name: pingvin-app
    image: stonith404/pingvin-share
    restart: unless-stopped
    ports:
      - 3000:3000
    environment:
      - TRUST_PROXY=false # Set to true if a reverse proxy is in front of the container
    volumes:
      - "./pingvin/data:/opt/app/backend/data"
      - "./pingvin/data/images:/opt/app/frontend/public/img"
    networks:
      - webproxy
    labels:
      - "traefik.enable=true"
      - "traefik.http.routers.share.rule=Host(`share.example.com`)" # Hier Domain einsetzen
      - "traefik.http.routers.share.entrypoints=http"
      - "traefik.http.routers.share-secure.rule=Host(`share.example.com`)" # Insert domain here
      - "traefik.http.routers.share-secure.entrypoints=https"
      - "traefik.http.routers.share-secure.tls=true"
      - "traefik.http.routers.share.middlewares=default-headers@file,error-pages-middleware"
      - "traefik.http.services.share.loadbalancer.server.port=3000"

  pocket-id:
    container_name: pocket-id-app
    image: stonith404/pocket-id  # or ghcr.io/stonith404/pocket-id
    restart: unless-stopped
    env_file: .env
    ports:
      - 3001:80
    volumes:
      - "./pocket-id/data:/app/backend/data"
    networks:
      - webproxy
    labels:
      - "traefik.enable=true"
      - "traefik.http.routers.login.rule=Host(`login.example.com`)" # Insert domain here
      - "traefik.http.routers.login.entrypoints=http"
      - "traefik.http.routers.login-secure.rule=Host(`login.example.com`)" # Insert domain here
      - "traefik.http.routers.login-secure.entrypoints=https"
      - "traefik.http.routers.login-secure.tls=true"
      - "traefik.http.routers.login.middlewares=default-headers@file,error-pages-middleware"
      - "traefik.http.services.login.loadbalancer.server.port=80"
    healthcheck:
      test: "curl -f http://localhost/health"
      interval: 1m30s
      timeout: 5s
      retries: 2
      start_period: 10s

networks:
  webproxy:
    external: true
3.3 Starting the Pingvin stack with Pocket ID #
Start the container with the following command:
docker compose up -d
Step 4: Setting up the two new services #
4.1 Configuration of Pocket ID #
First call up the URL https://login.example.com/login/setup to create your administrator user here too. You can then specify your name and user name. It is important that you enter a passkey here, as you will then use this to authenticate yourself.

You can customize your Pocket ID app under Application Configuration, upload a logo and set a background. You then configure an OIDC client.
This is required to log in to Pingvin later. Add name and callback URL and click on Save.
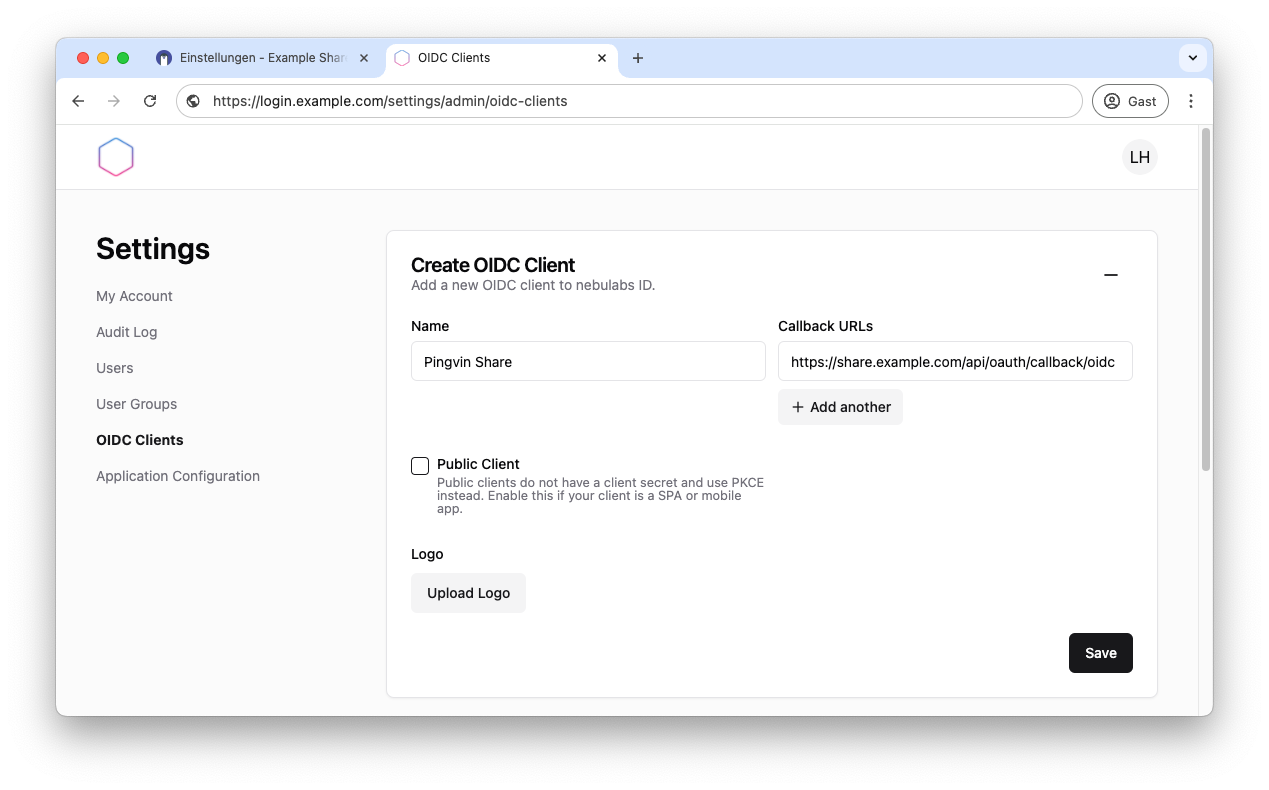
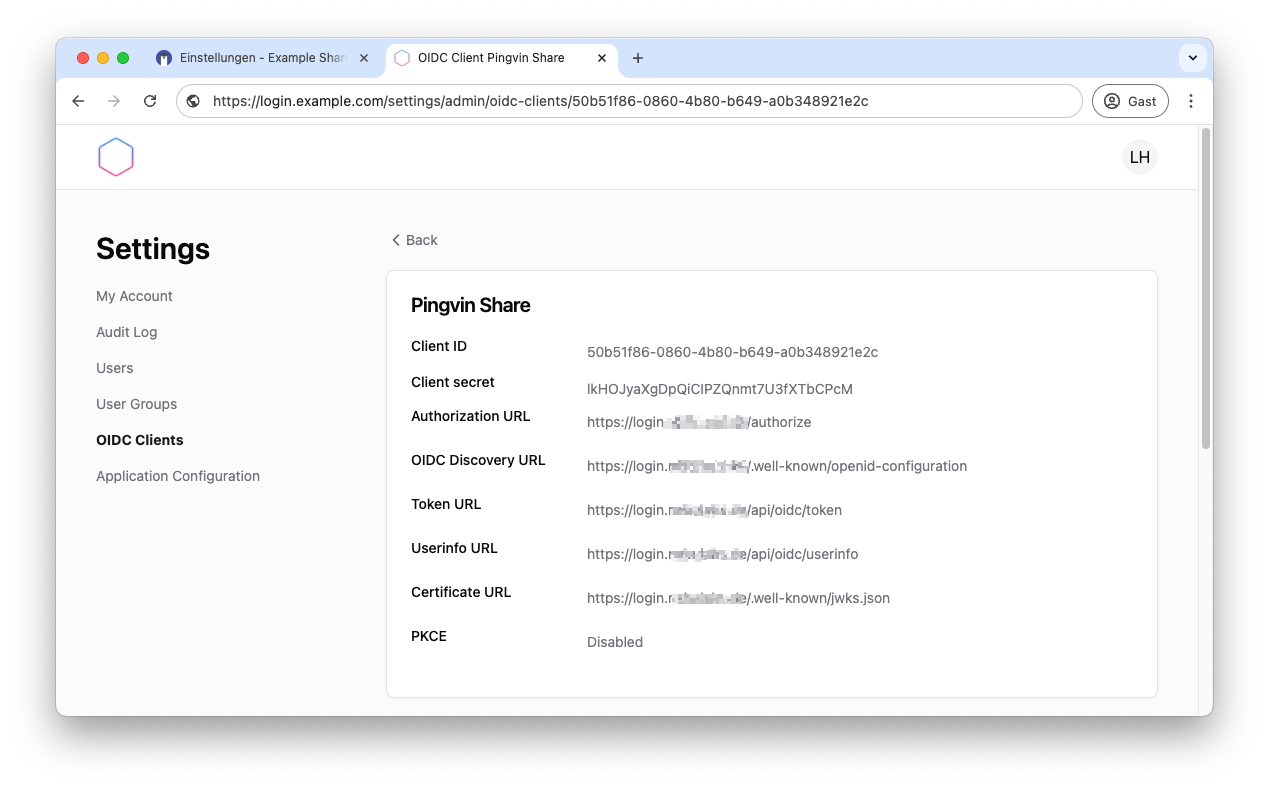
You will then receive various data that you need to set up OIDC in Pingvin. So leave this page open. We need the data afterwards.
4.2 Configuration of Pingvin #
To do this, first call up the URL of Pingvin. This should read something like this: https://share.examle.com
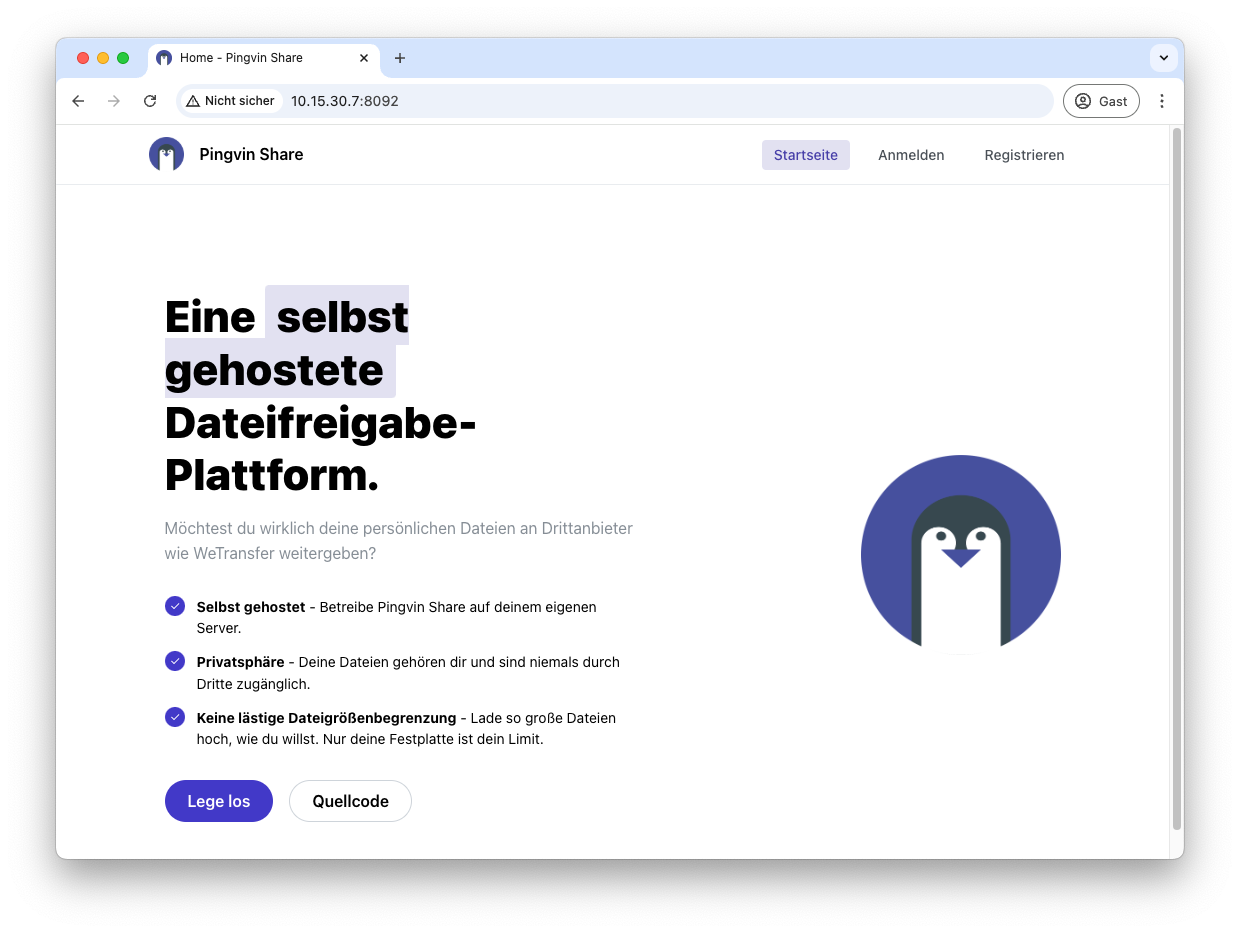
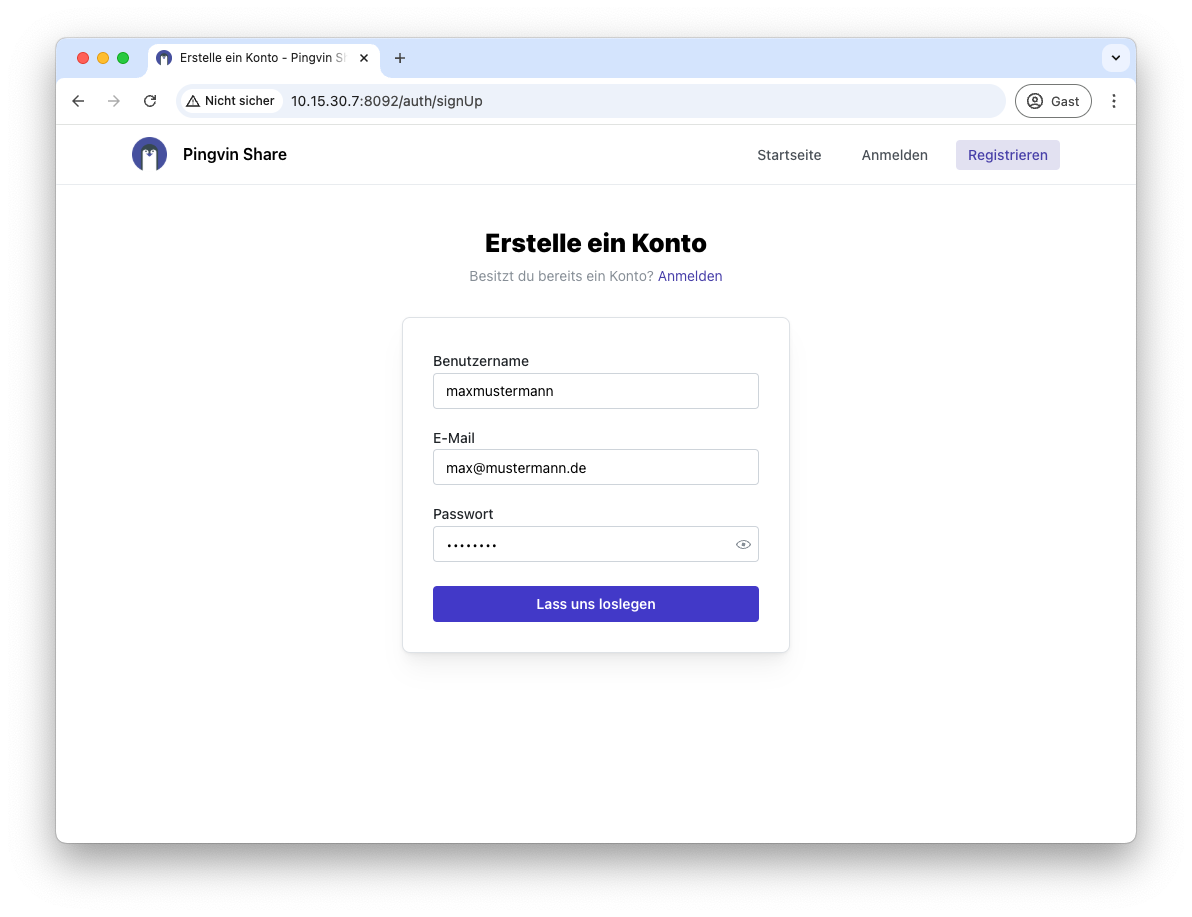
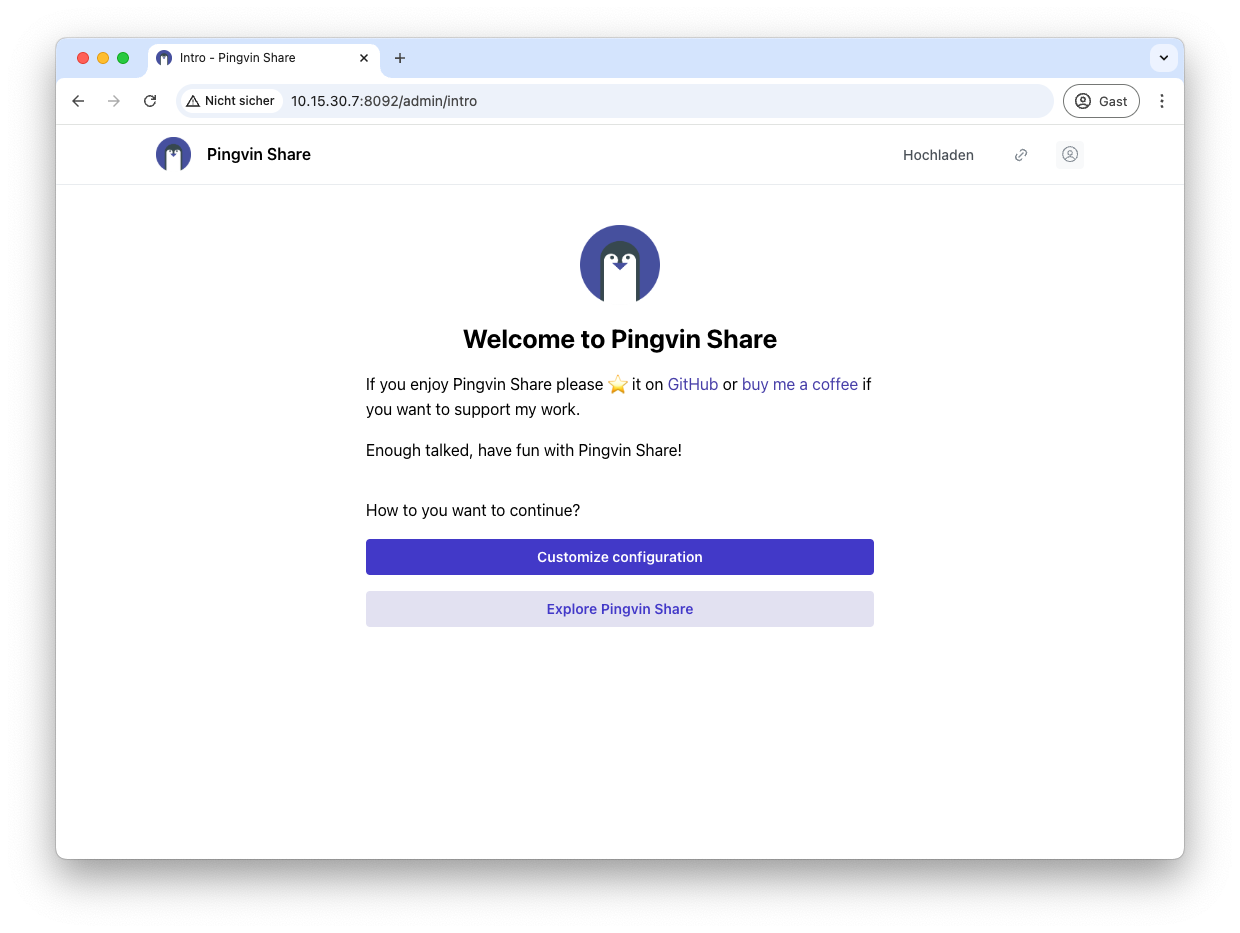
Now click on Register to create your admin user and then click on Let’s get started.
You can then carry out the configuration. To do this, click on Customize Configuration.
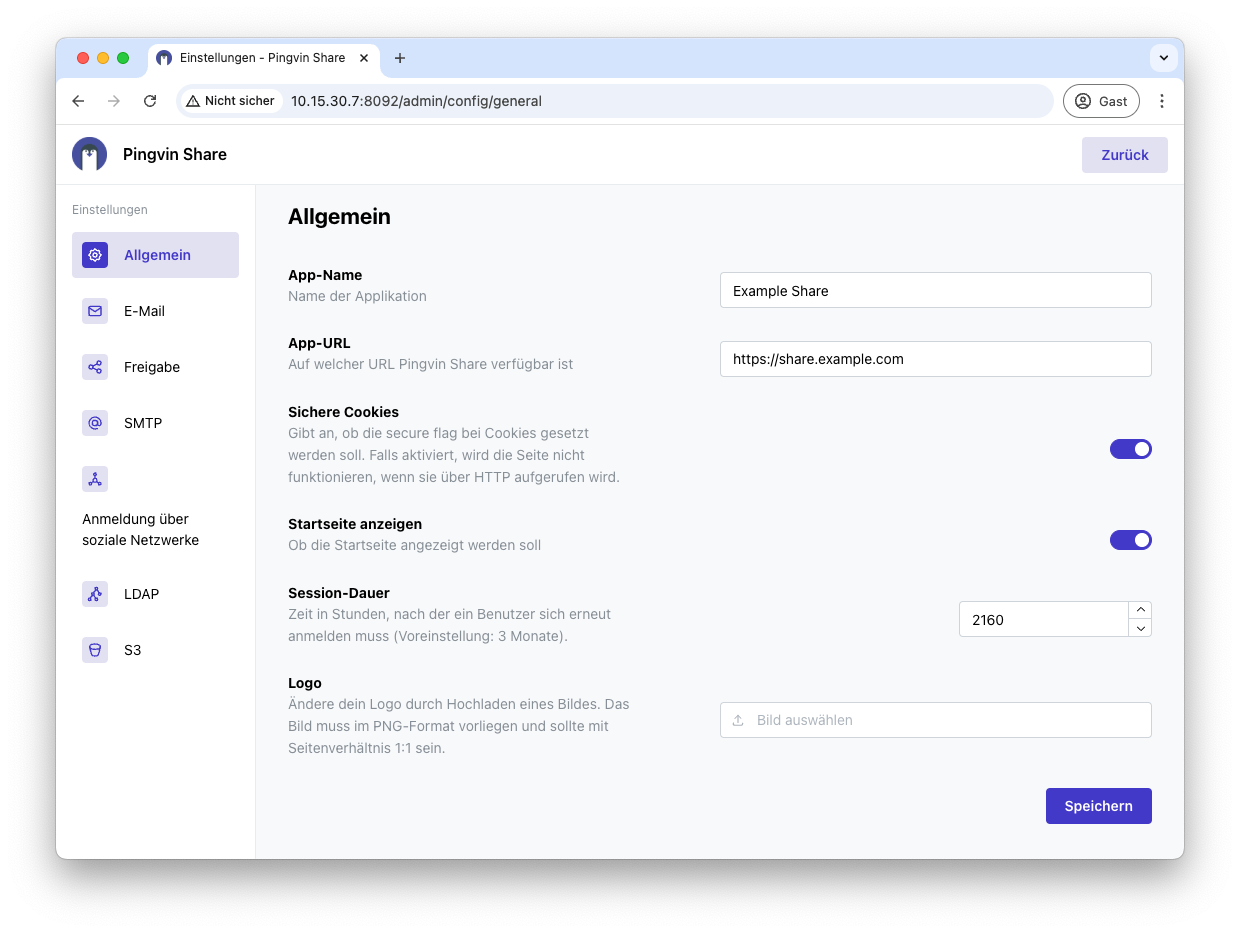
Name your app and add your URL. I also recommend activating Secure Cookies. You can also upload your own logo.
Under Share you should now deactivate the registration, because we will then implement this via OIDC - i.e. Pocket ID. You can also deactivate logging in with a password under Logging in via social networks.
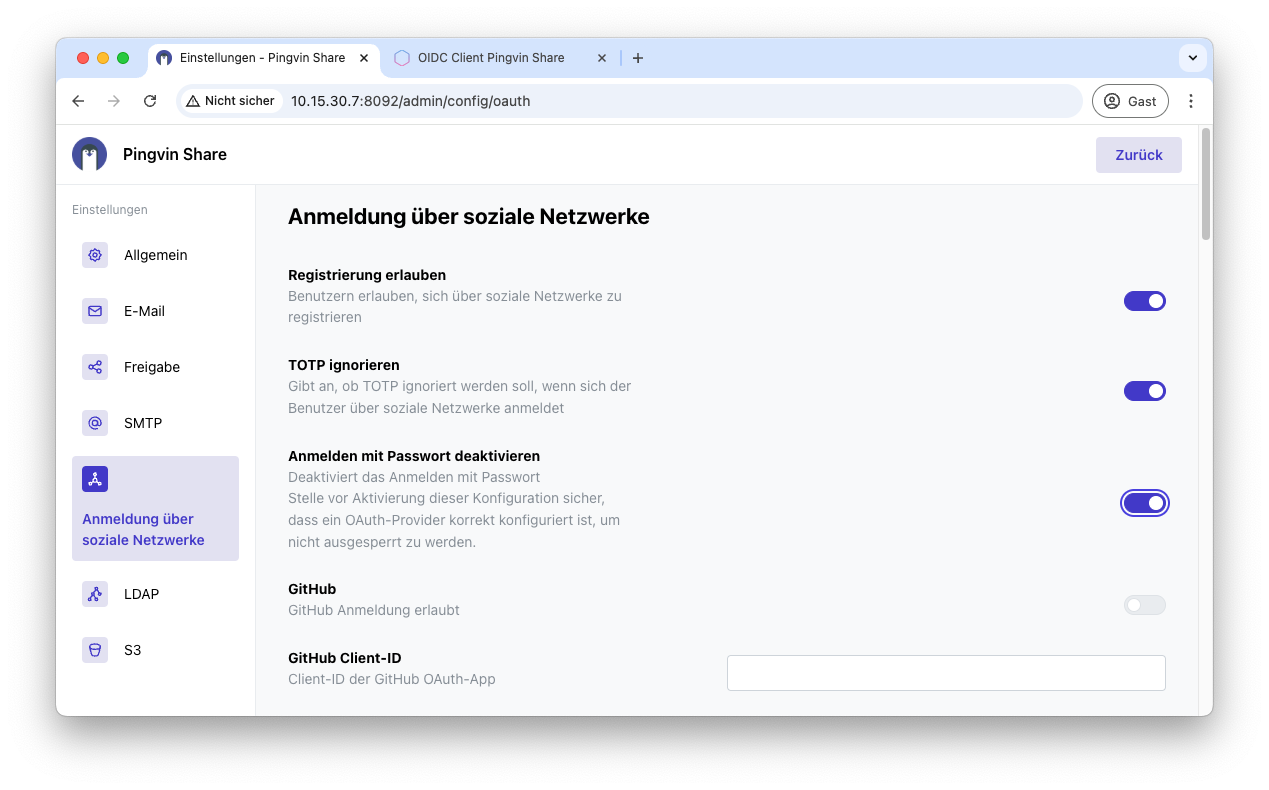
To set up OIDC now, open Sign in via social networks.
First deactivate the password login to enable login with Pocket ID only.
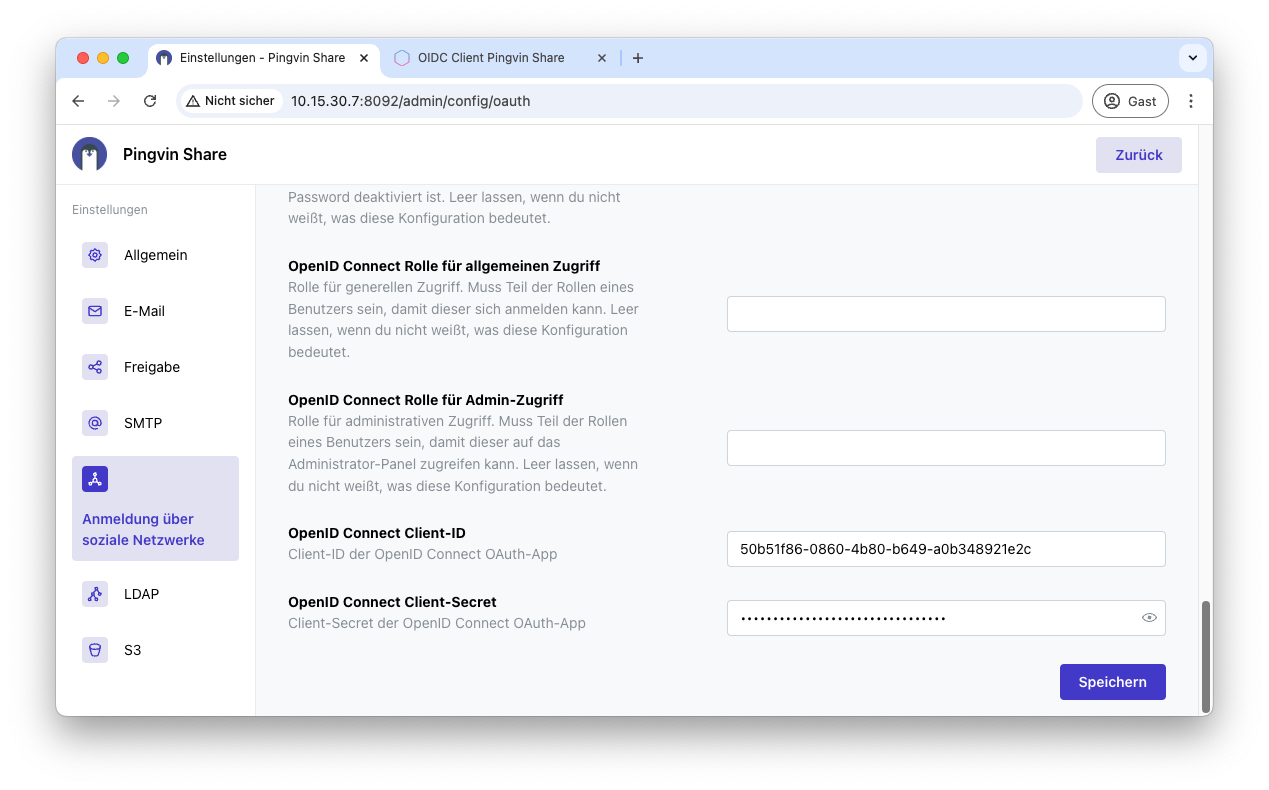
Then scroll further down to configure OIDC. Activate OpenID Connect and enter the Discovery URL. You can find this in the previous tab for Pocket ID, in which you created the OIDC client.
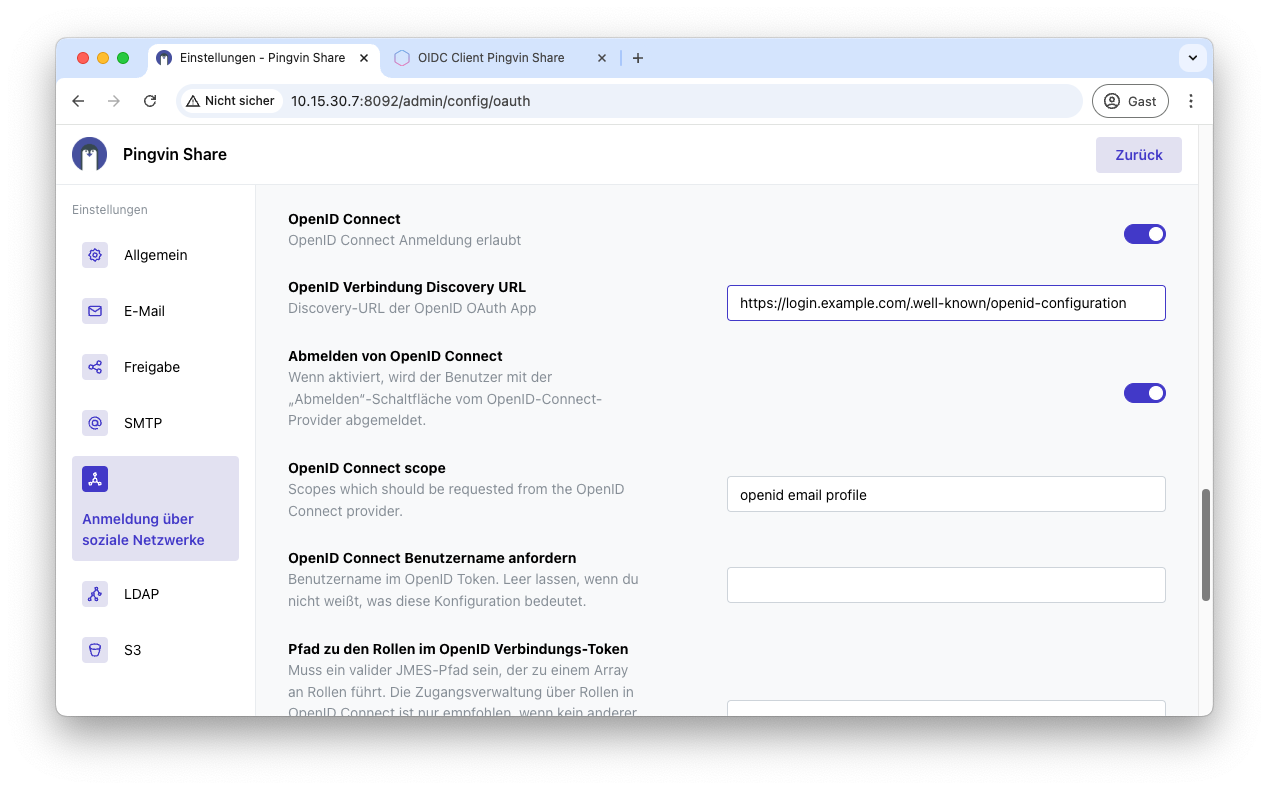
The client ID and client secret must now be entered at the very bottom of the page. Then save the configuration and OIDC is now configured for Pingvin.
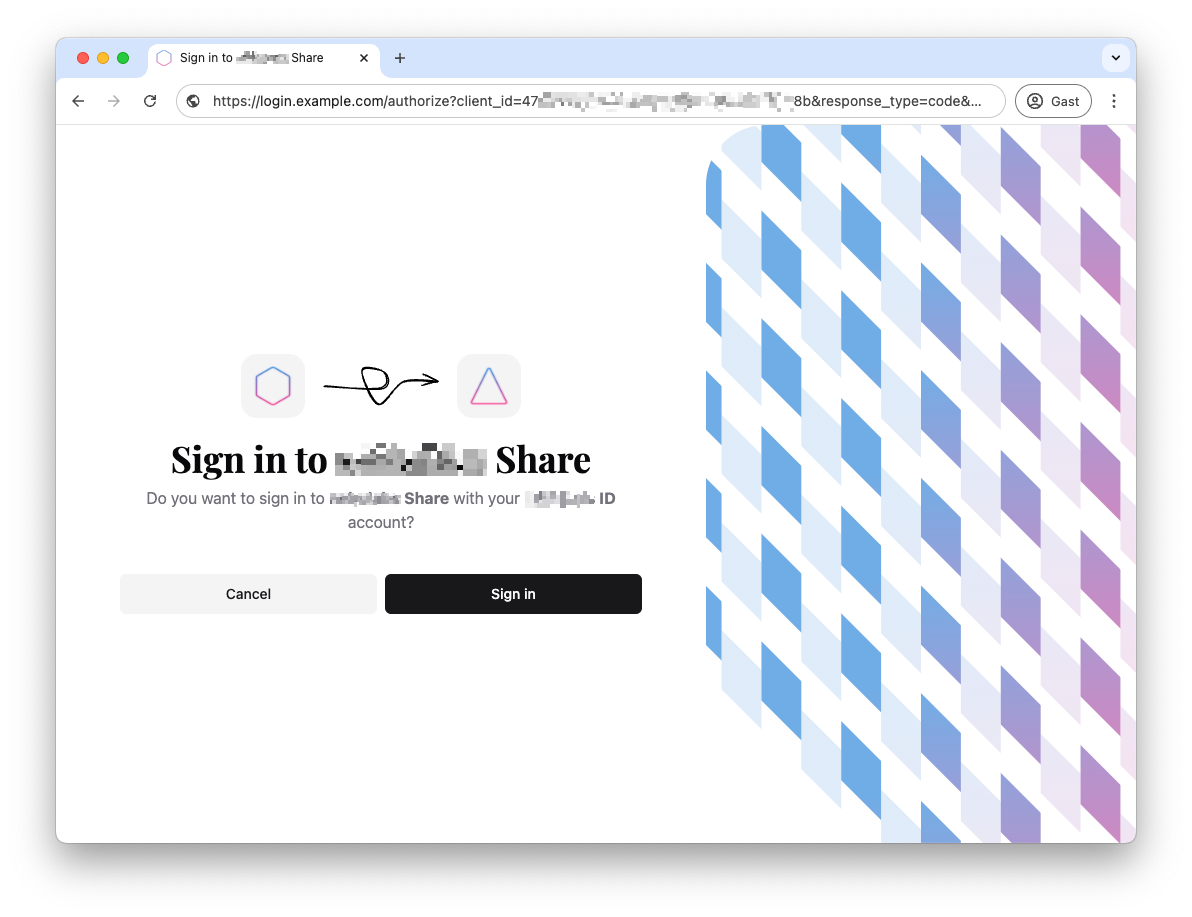
Step 5: Log in via OIDC #
You can now use Pocket ID as an OIDC provider and log in with it. To do this, you can open a new browser window and open https://share.example.com. You should now be automatically redirected and have the option of logging in with your passkey.
Bonus: Portainer deployment and OIDC connection #
6.1 Creating the Docker-Compose configuration #
Create a docker-compose.yml for Traefik:
# /root/portainer/docker-compose.yml

services:
  portainer:
    container_name: portainer
    image: portainer/portainer-ce:latest
    command: -H unix:///var/run/docker.sock
    restart: always
    volumes:
      - /var/run/docker.sock:/var/run/docker.sock
      - portainer_data:/data
    networks:
      - webproxy

    labels:
      - "traefik.enable=true"
      - "traefik.http.routers.portainer.rule=Host(`portainer.example.com`)"
      - "traefik.http.routers.portainer.entrypoints=https"
      - "traefik.http.routers.portainer.tls=true"
      - "traefik.http.services.portainer.loadbalancer.server.port=9000"
      - "traefik.http.routers.portainer.middlewares=default-headers@file,error-pages-middleware"

volumes:
  portainer_data:

networks:
  webproxy:
    external: true
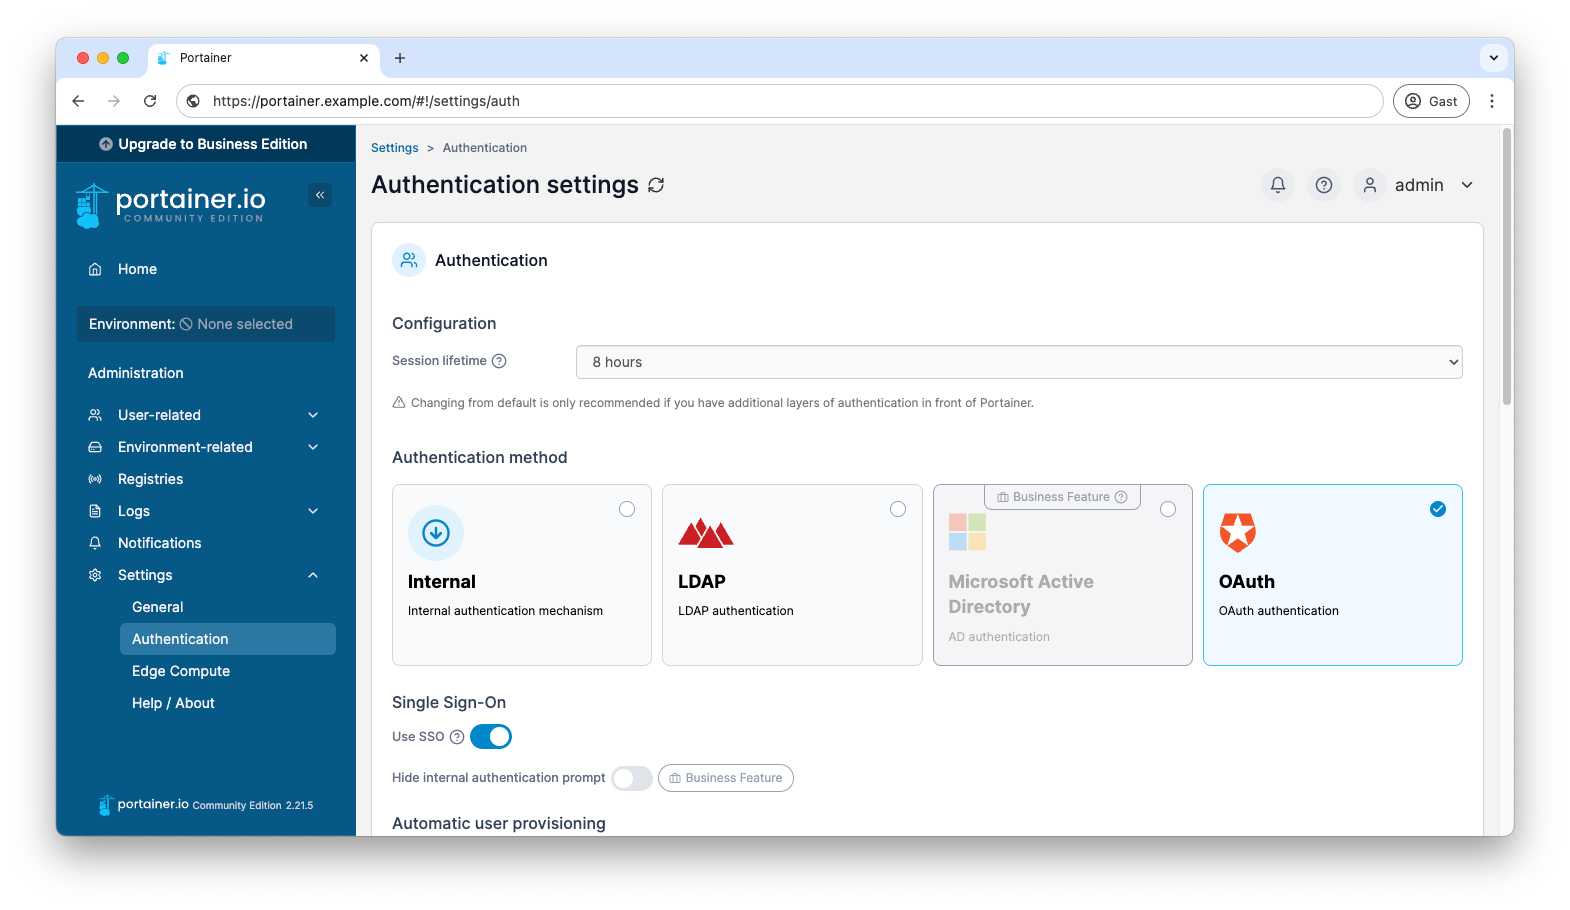
6.2 Connecting Portainer to OIDC #
First create an OIDC configuration in Pocket ID again. Then switch to your Portainer instance and select the OAuth method under Settings → Authentication.
You must then also make the corresponding configurations here, which you will receive in Pocket ID after creating the OIDC client.
The configuration looks something like this:
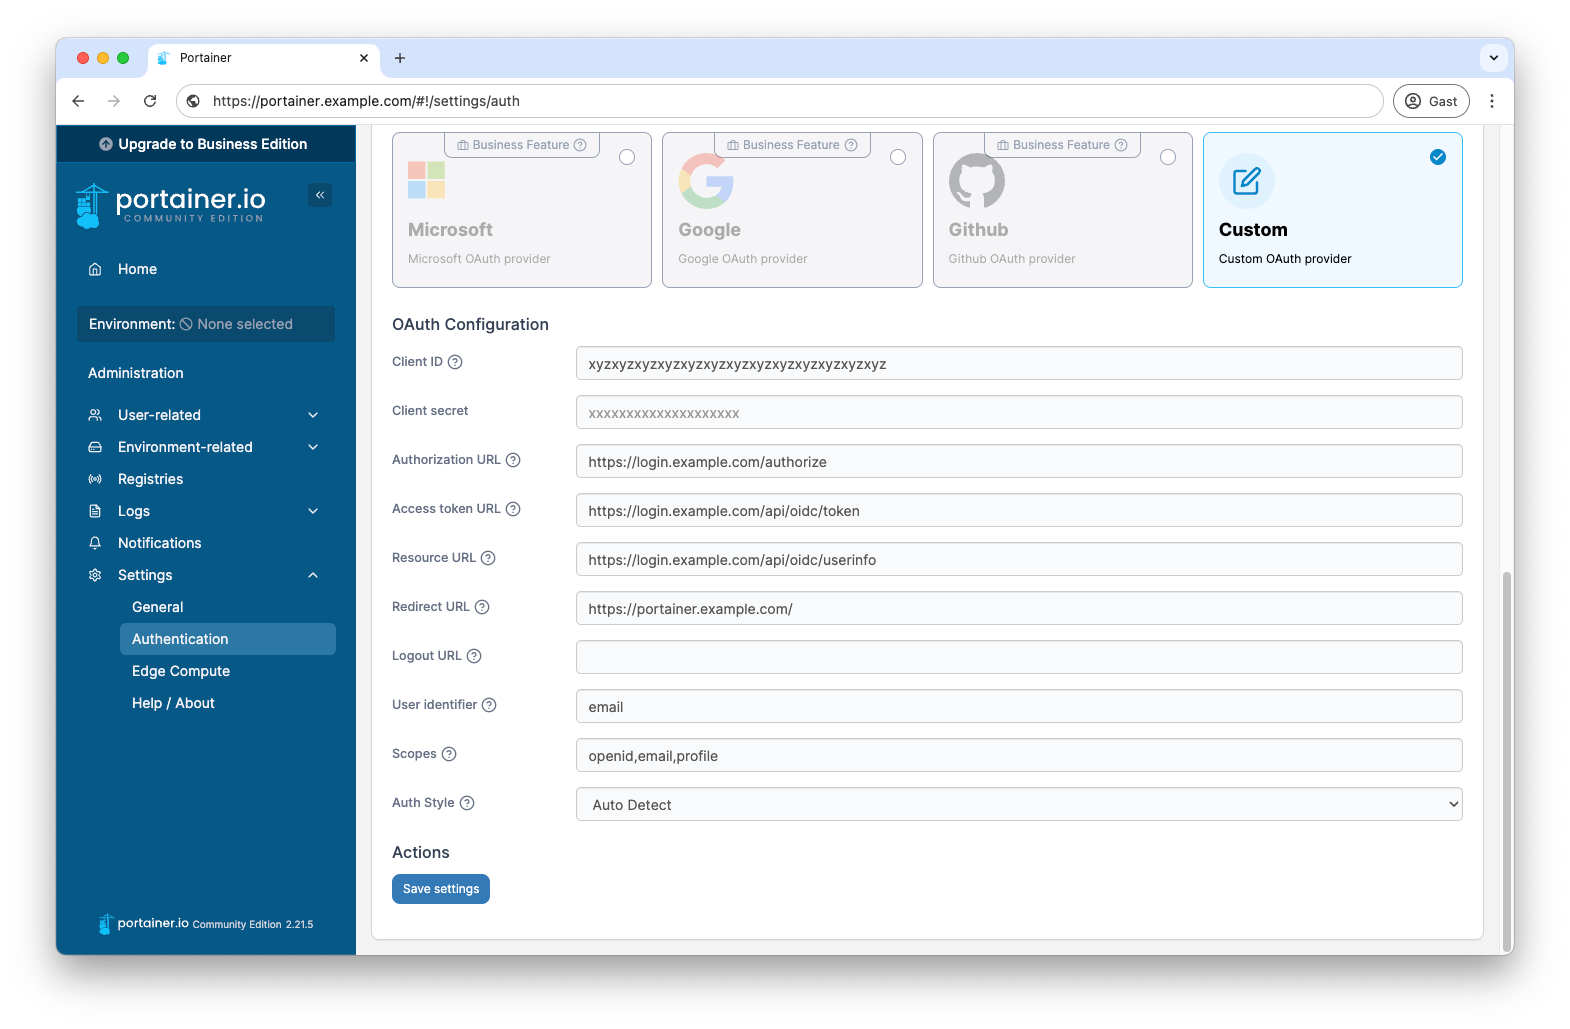
So that you can log in later via OIDC, you still need to create your user. To do this, click on User-related → User and add your user with the e-mail address, make him an administrator and then click on + Create user. That’s it. Now you can also log in here with your Pocket ID account.